The Translations page allows you to carry out the following:
•Edit any existing text in BusPlanner Web, for any activated language.
•Load any additional texts introduced in a new update of BusPlanner Web.
•Reset all translations to the out-of-the-box defaults.

Note: The Auto / Invariant language indicates the automatic texts that appear if a user's computer is set to a language that does not exist in BusPlanner Web.
 Modifying Translations & Website Texts
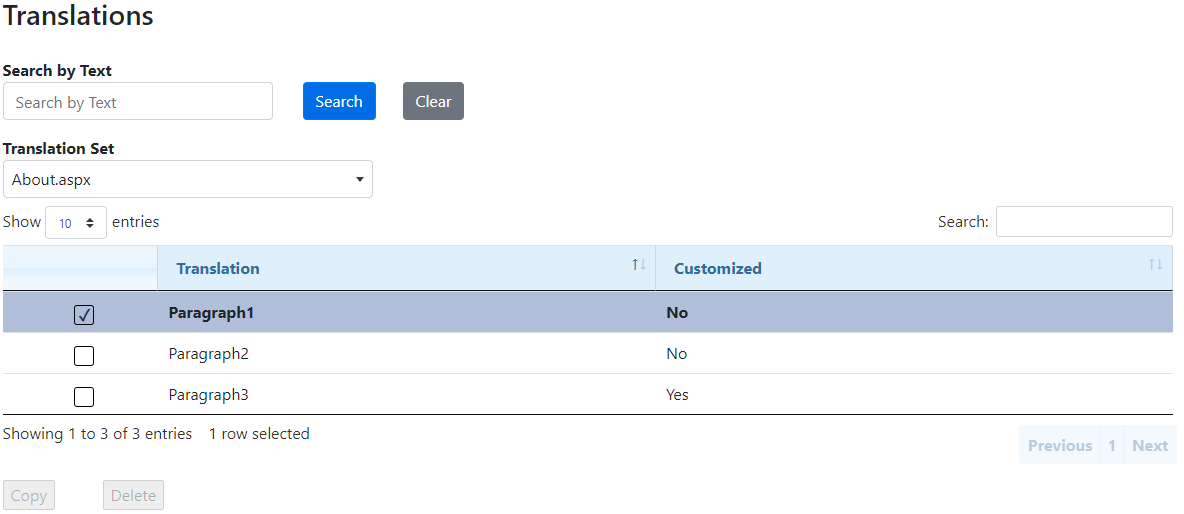
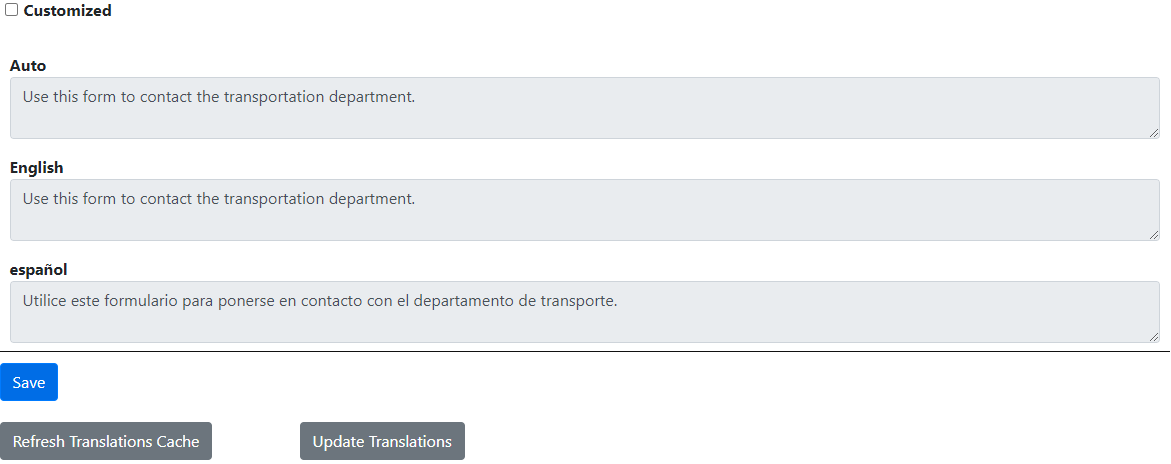
To edit the text that appears on BusPlanner Web for any language. To this, browse to the Translations, then find and edit the Translation Set corresponding to the text in question: 1.Enter the text you wish to edit in Search by Text. For example, if you wish to change the Use this form to contact the transportation department text on the Contact page, enter that text. Click Filter. 2.Browse to the correct Translation Set. If there are multiple translation sets with the same text, you will have to select the appropriate record from the dropdown. 3.View the translation text below the table, which should show in all of the available languages. 4.Check on 'Customized' in order to edit the text in the relevant languages below, then click Save.
|
 New Translations & Deleting Translations
Important: Adding new translations, copying or and deleting Translations are advanced tools that should not be used in day-to-day management of translations. •Translations that are in the GlobalResourceSet translation set can be overridden to provide a translation for a specific page in BusPlanner Web. oTranslations in this translation set are usually used in a number of places. This allows an override for just a specific page without affecting the other places that it is used. oThe Delete feature allows you to remove that customization if it is no longer needed. •If you believe you need to use one of these options, please contact BusPlanner Support first. • If you are creating a new translation for a specific page, make sure the Translation Set and Translation ID do not contain any spaces. |
For Ontario Clients:
CollectionNoticeContent translation and the notice must be updated to properly inform the parents the following, in accordance with the requirements of MFIPPA and FIPPA.
oThe legal authority for collecting the information.
oThe principal purpose(s) for which the information will be used.
oContact details for someone who can answer questions about the collection.
